
Use this guide to preview a survey, add welcome and exit notes, change survey settings, filter your survey list and manage tags. For survey creators.
Before you start
- Create a survey first. See Create a survey.
Open a survey in the builder
- In the InPoll app, click the Surveys tab.
- Click the survey. A draft or archived survey opens in the builder.
- For a published survey, the Summary page opens. Click Edit Survey in the left panel.
The builder has these tabs: Questions, Preview, Welcome Note, Exit Note and Survey Settings.
Preview the survey
Preview shows the survey as respondents see it in the real survey link. You can answer the questions and move through the survey.
- Open the survey in the builder.
- Click the Preview tab.
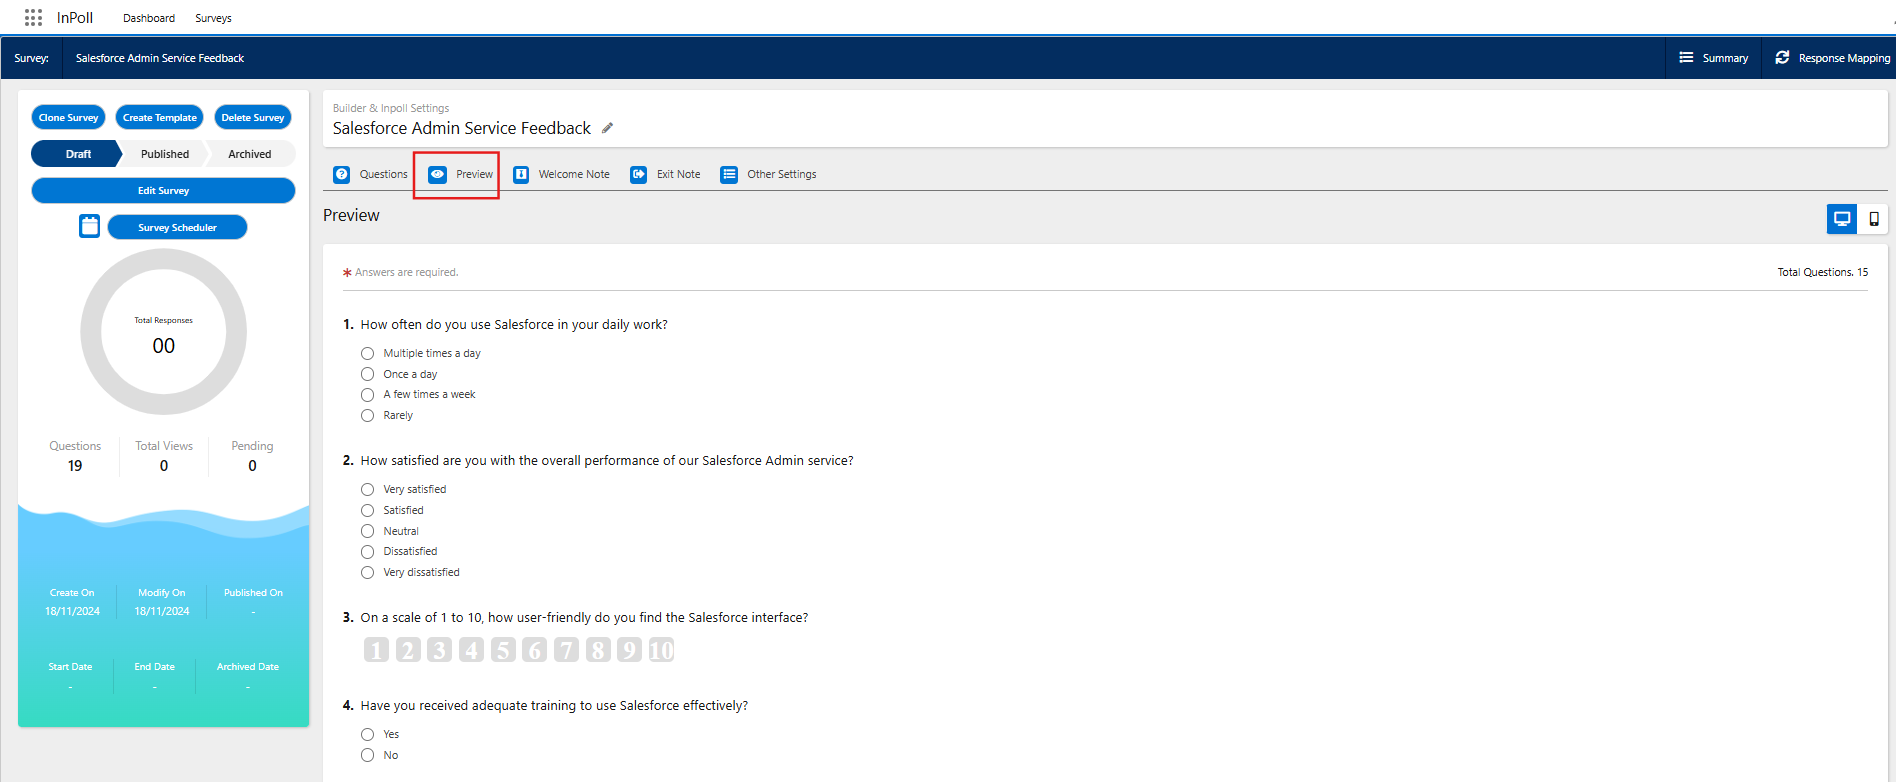
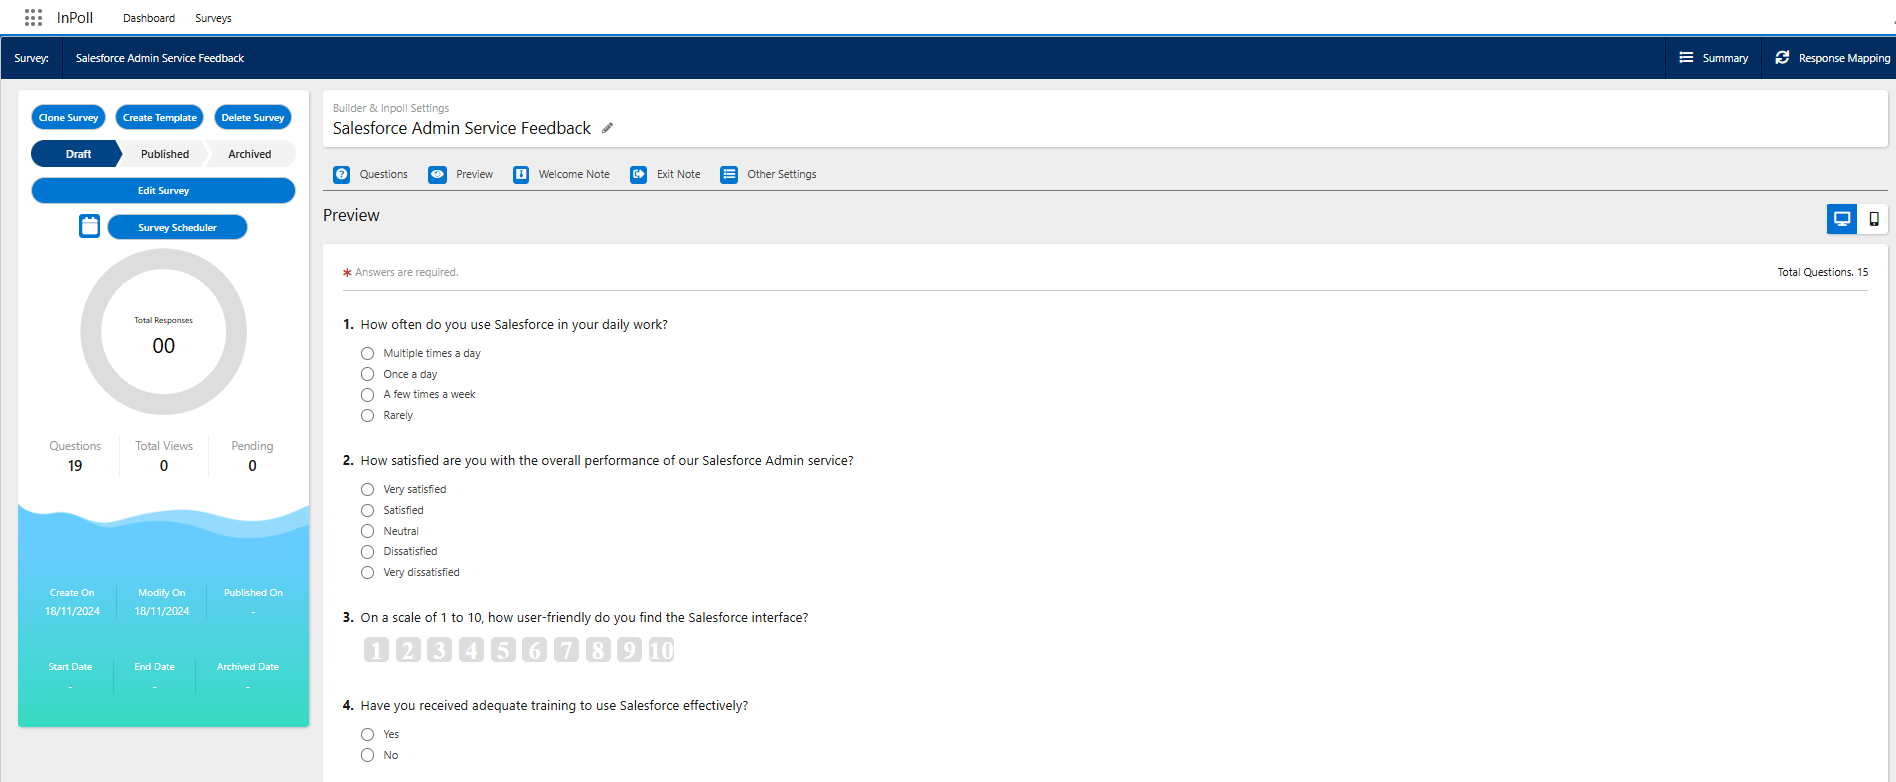
Desktop view
Desktop view is the default. It shows the look and feel of the survey in a desktop layout. To switch views, click the desktop or mobile icon at the upper right. The desktop icon is highlighted in desktop view.
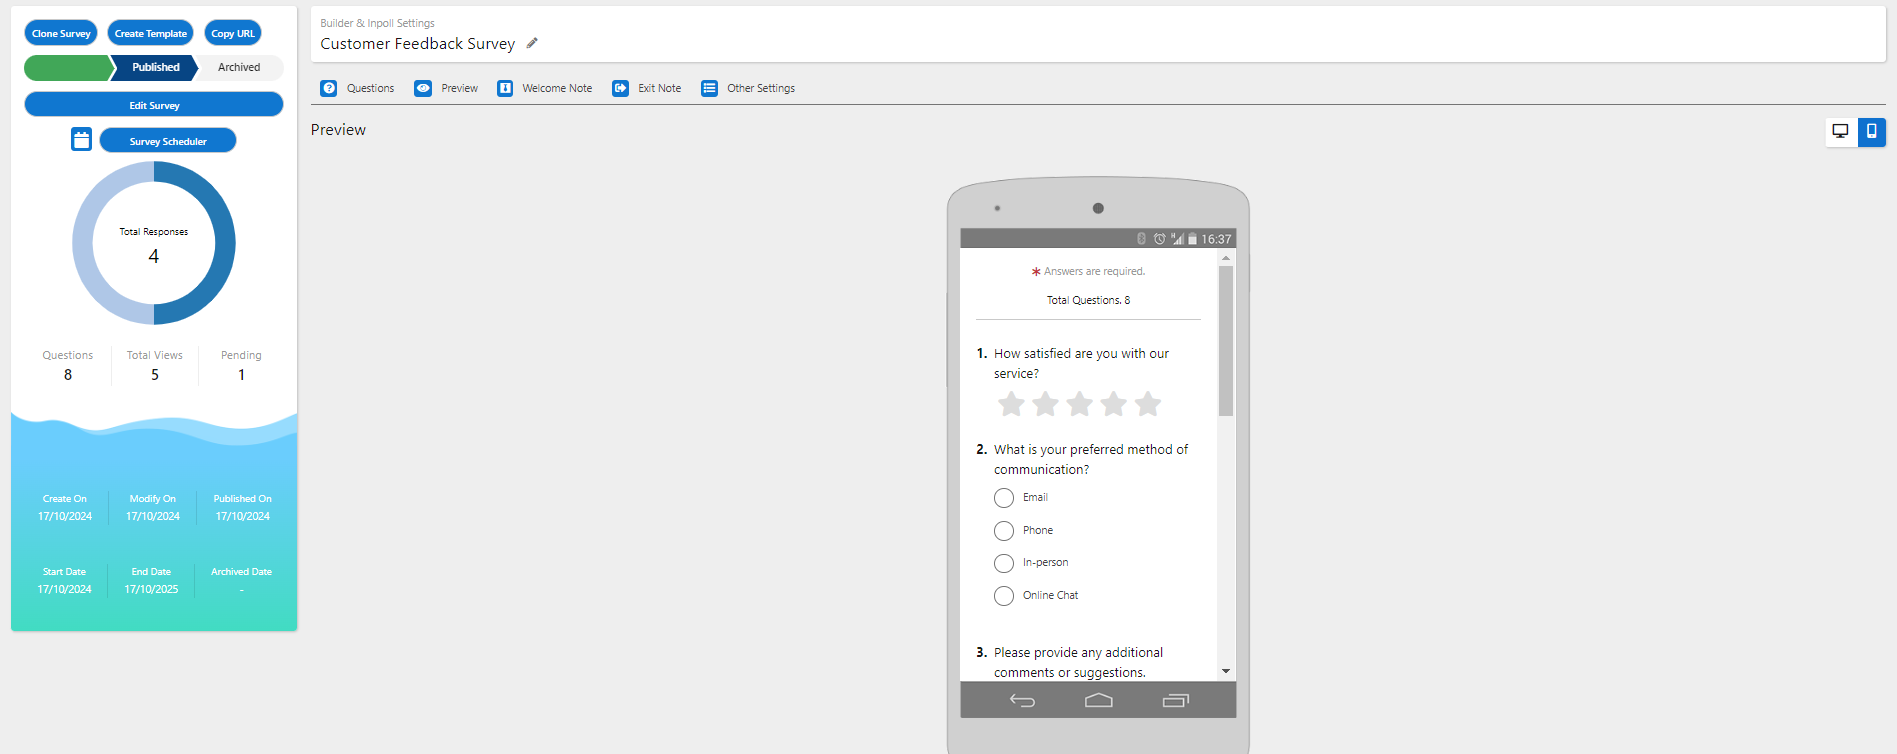
Mobile view
Click the mobile icon to see how the survey looks on a mobile device. You can move through the survey as you would on a real mobile link.
Add a welcome note
The welcome note is text shown before the survey questions. Use it to explain the purpose of the survey and why people should take part. You can also explain how you will use the information you collect.
- Open the survey in the builder.
- Click the Welcome Note tab.
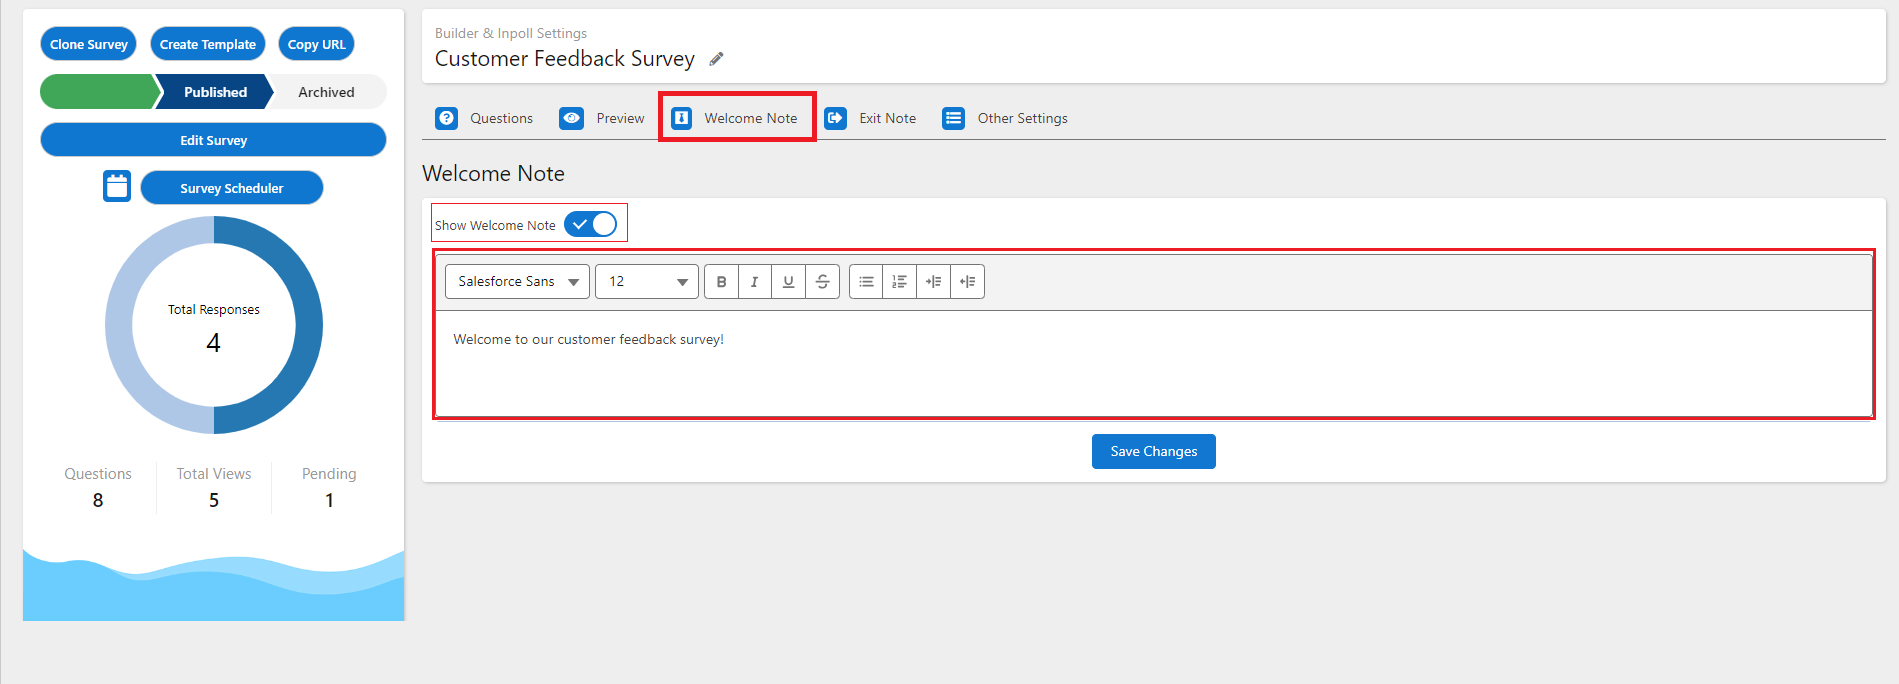
- Enter your welcome note or survey introduction in the text editor. You can change the style and formatting of the text.
- Turn on Show Welcome Note.
- Click Save Changes.
See the welcome note in preview
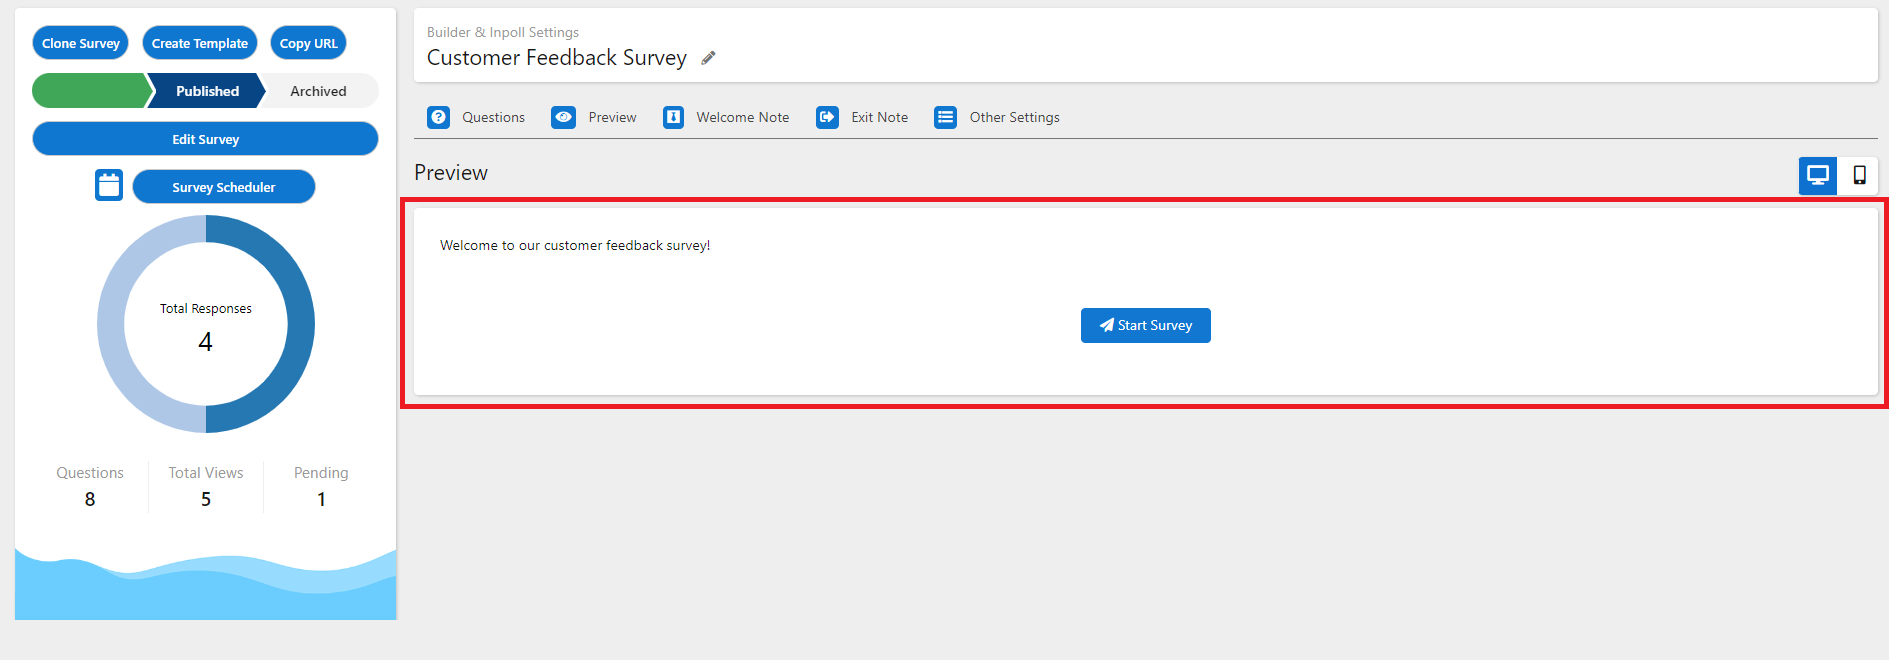
Click the Preview tab. The welcome note appears at the start of the survey, before the questions.
Add an exit note
The exit note is text shown at the end of the survey.
- Open the survey in the builder.
- Click the Exit Note tab.
- Make sure Exit Note is selected. It is selected by default.
- Enter your exit note in the text editor. You can change the style and formatting of the text.
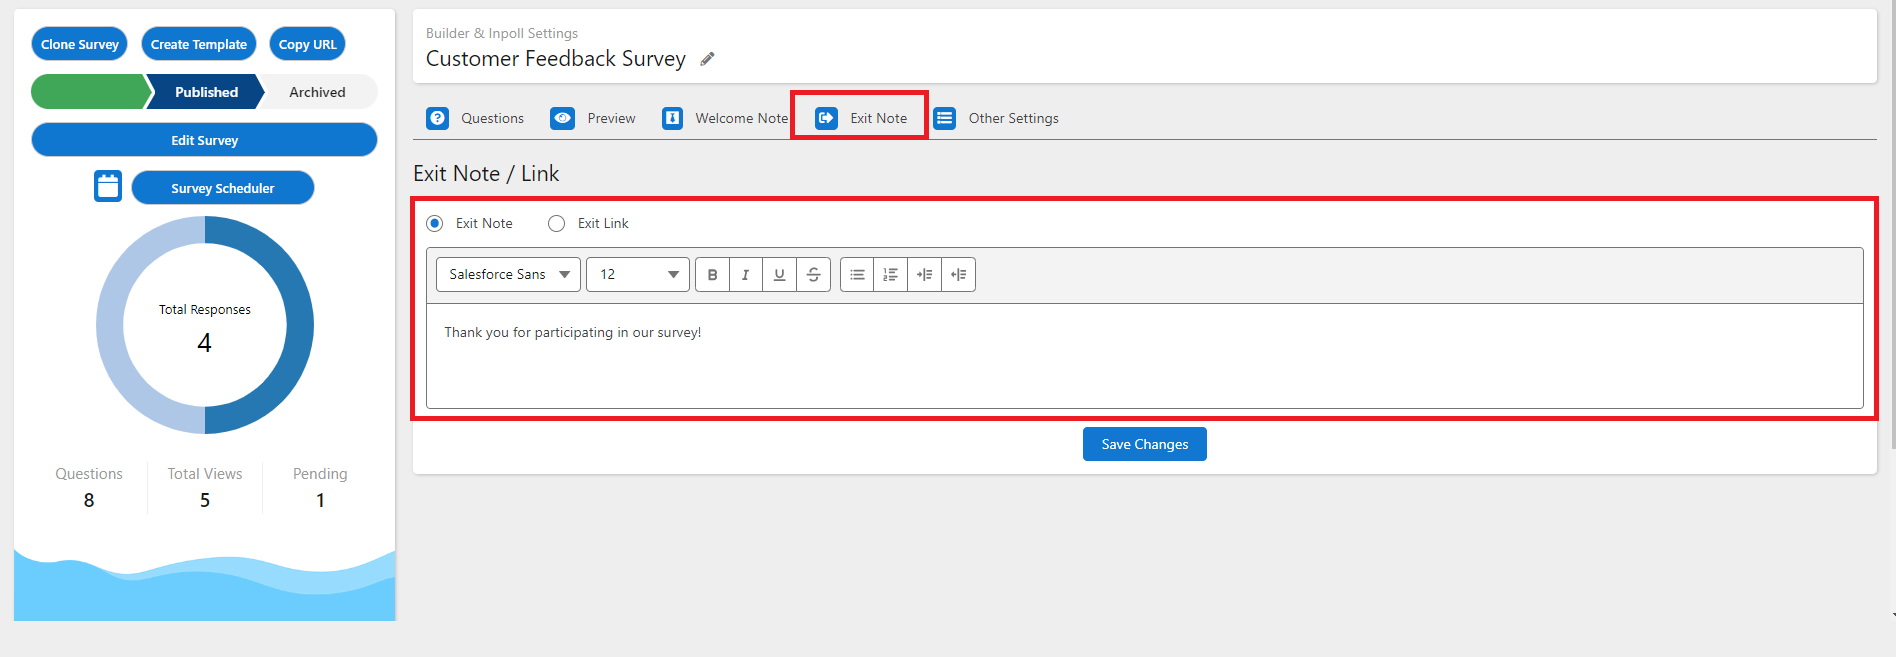
- Click Save Changes.
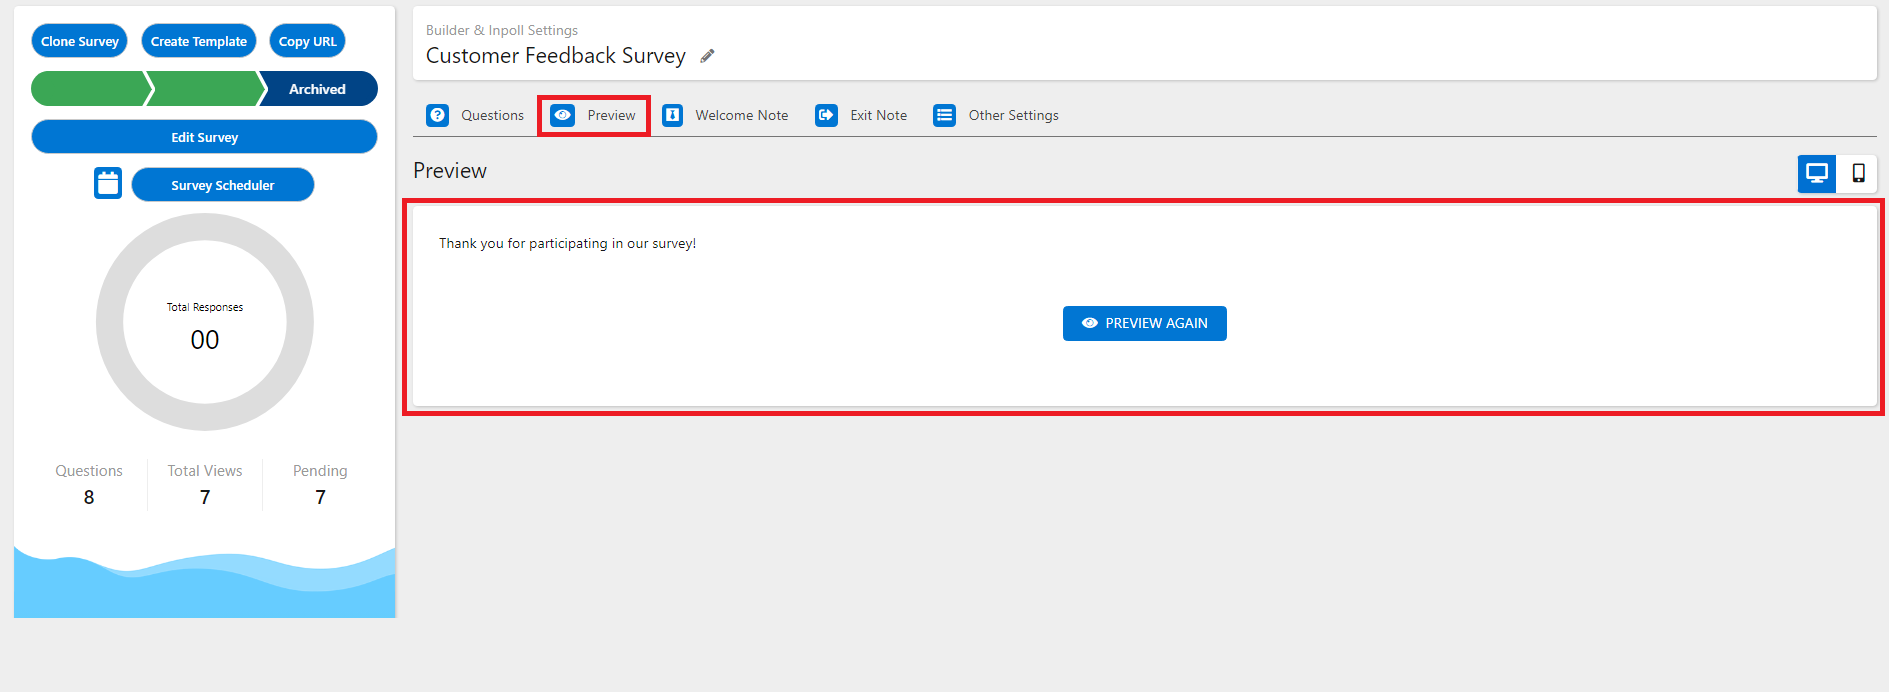
In preview, the exit note appears after the last question.
Add an exit link
Instead of a note, you can show a link at the end of the survey.
- Open the survey in the builder.
- Click the Exit Note tab.
- Select Exit Link.
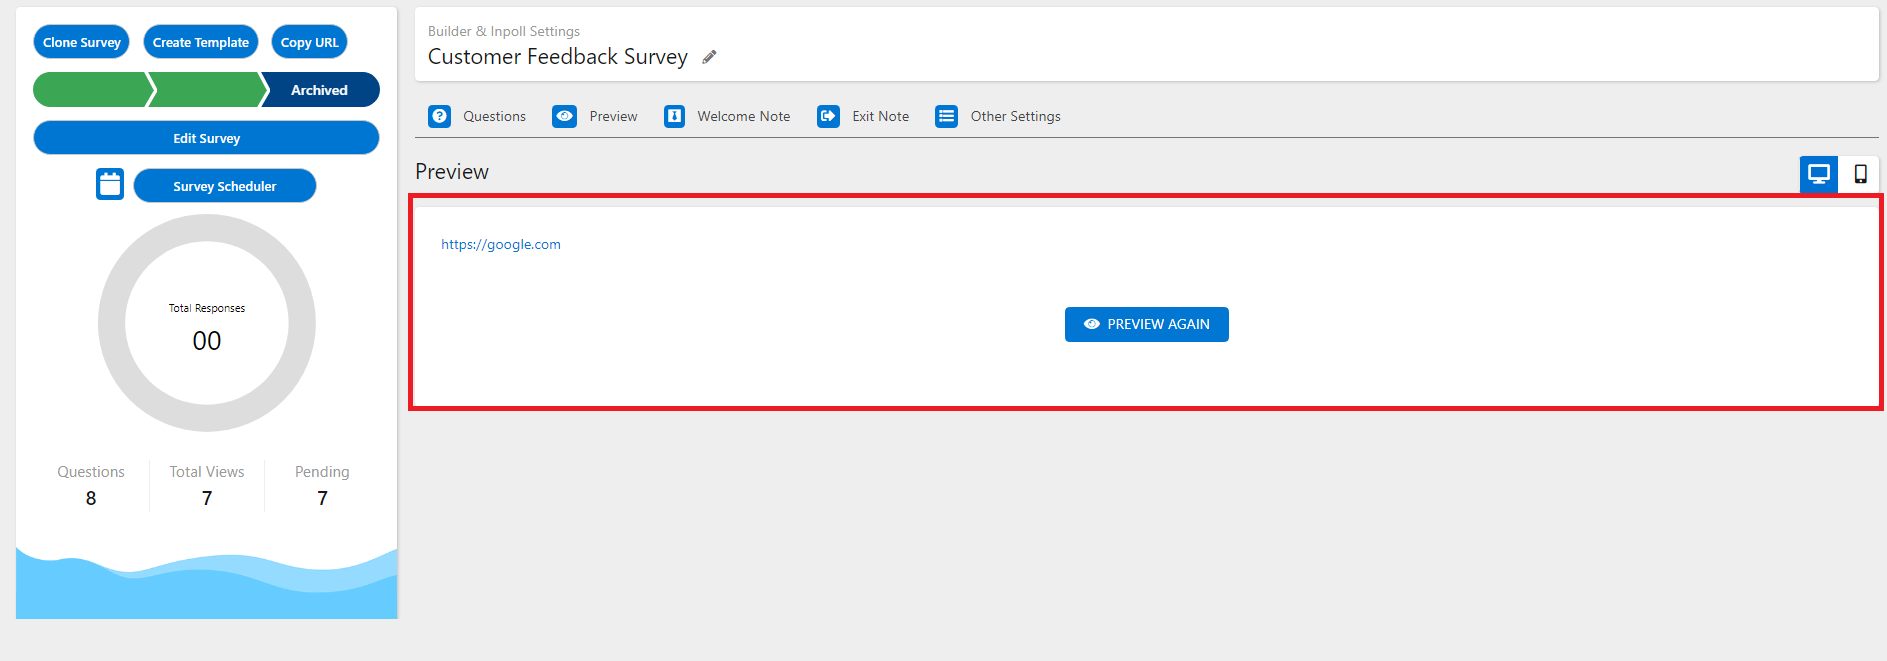
- Enter a URL in the Exit Link Url box. For example, www.google.com.
- Click Save Changes.
See the exit note and exit link in preview
Click the Preview tab and answer the questions to reach the end of the survey. With an exit note, your note appears.
With an exit link, the link appears instead. Click PREVIEW AGAIN to run through the survey again.
Change survey settings
Use the Survey Settings tab to change the survey title, tags and description. You can also click the pencil icon next to the survey name to change the title.
- Open the survey in the builder.
- Click the Survey Settings tab.
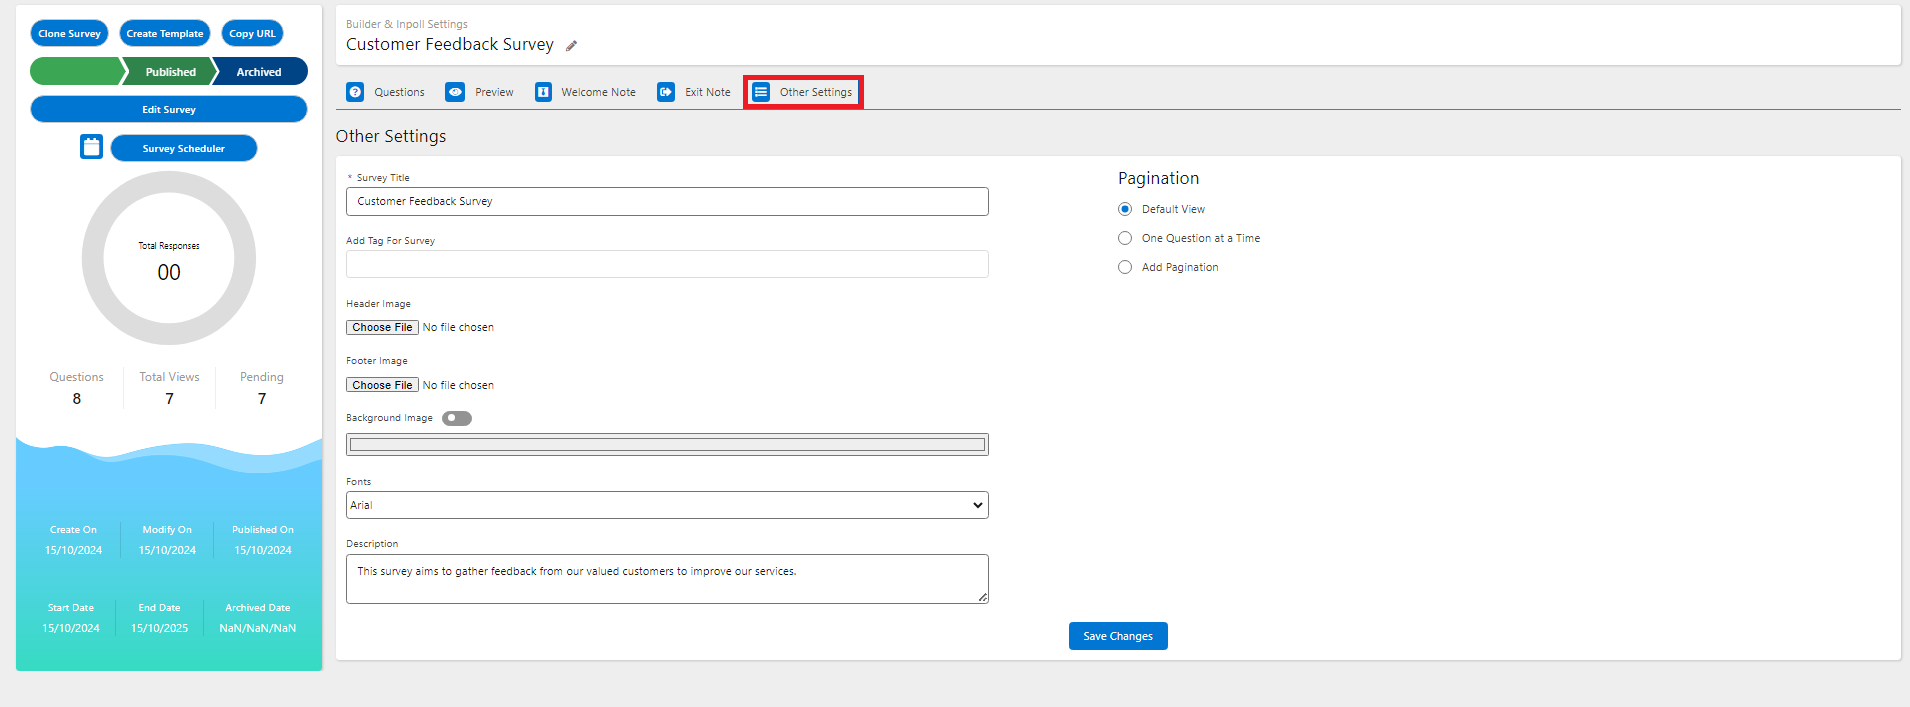
- Change the Survey Title, Add Tag For Survey or Description.
- Click Save Changes.
Set pagination
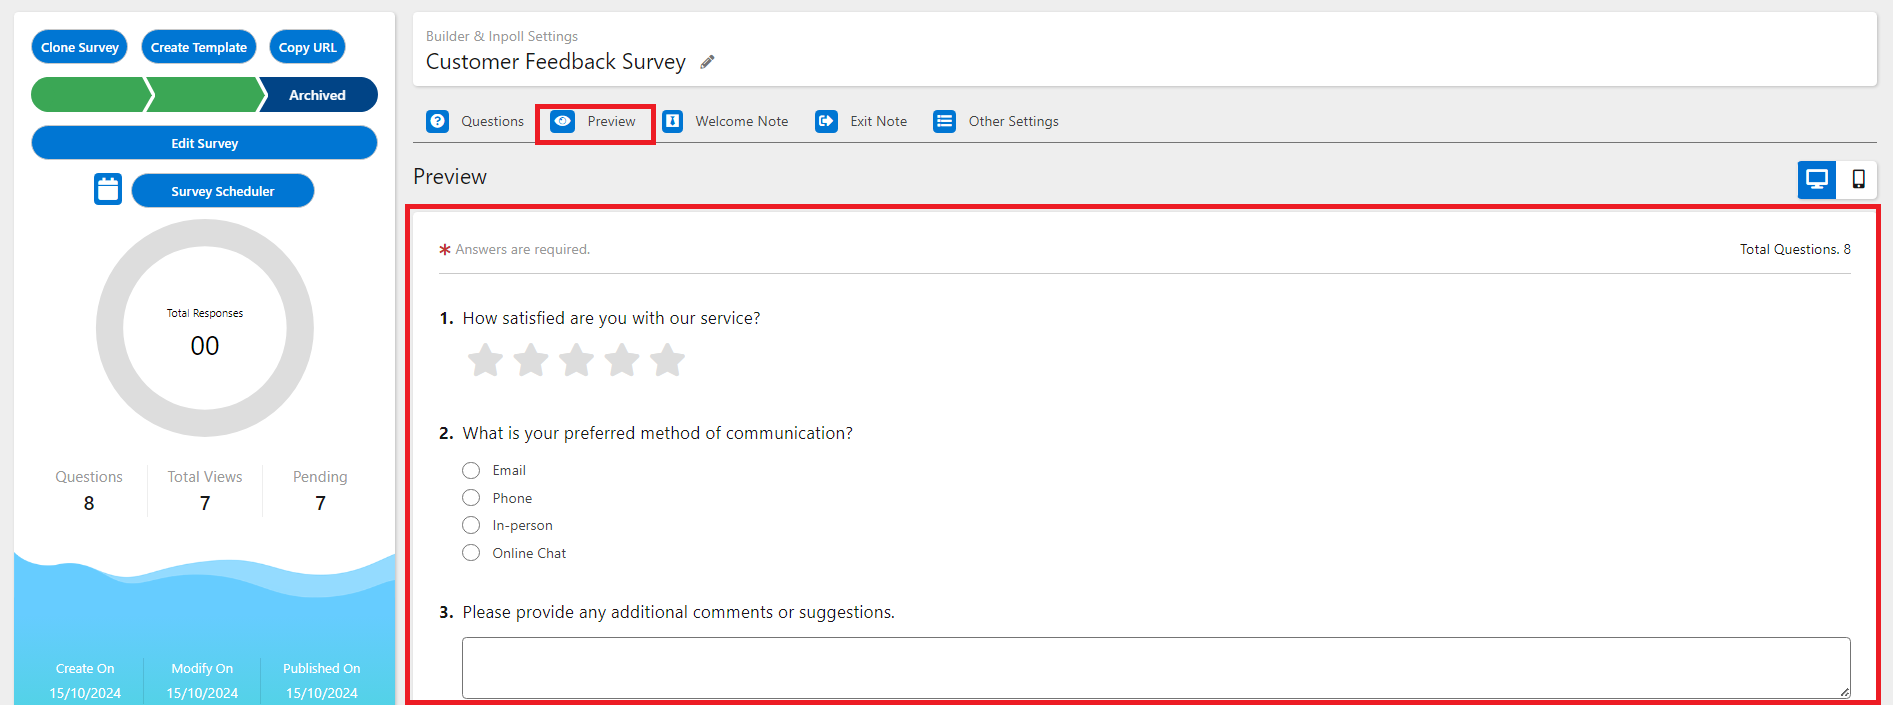
In Survey Settings, Pagination controls how questions appear to respondents. The options are Default View, One Question at a Time and Add Pagination.
Default View
The survey shows its questions together on one page.
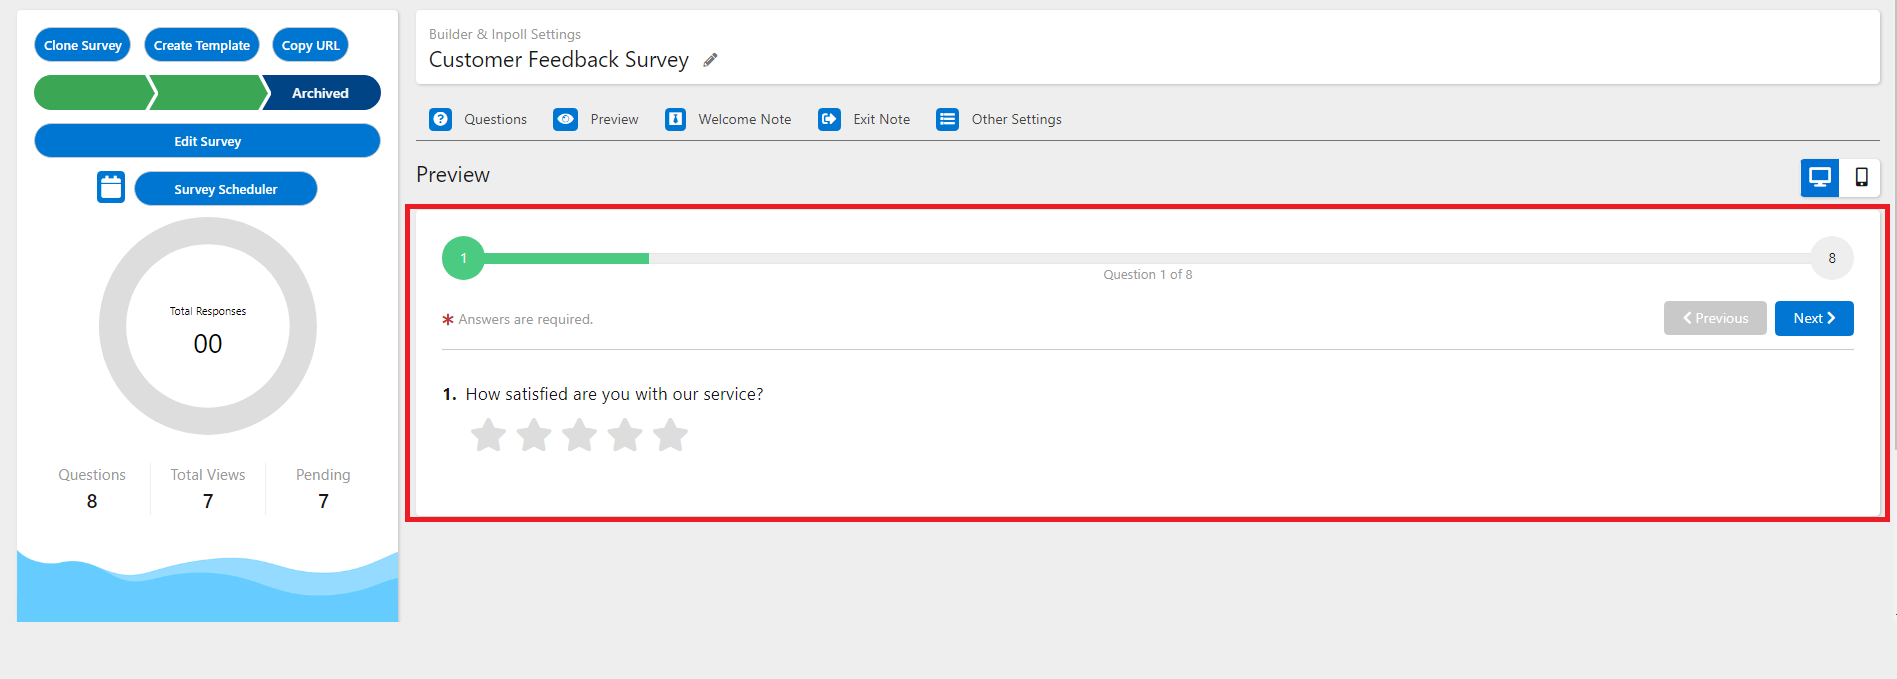
One Question at a Time
The survey shows one question per page. Respondents use the Previous and Next buttons to move between questions.
Add Pagination
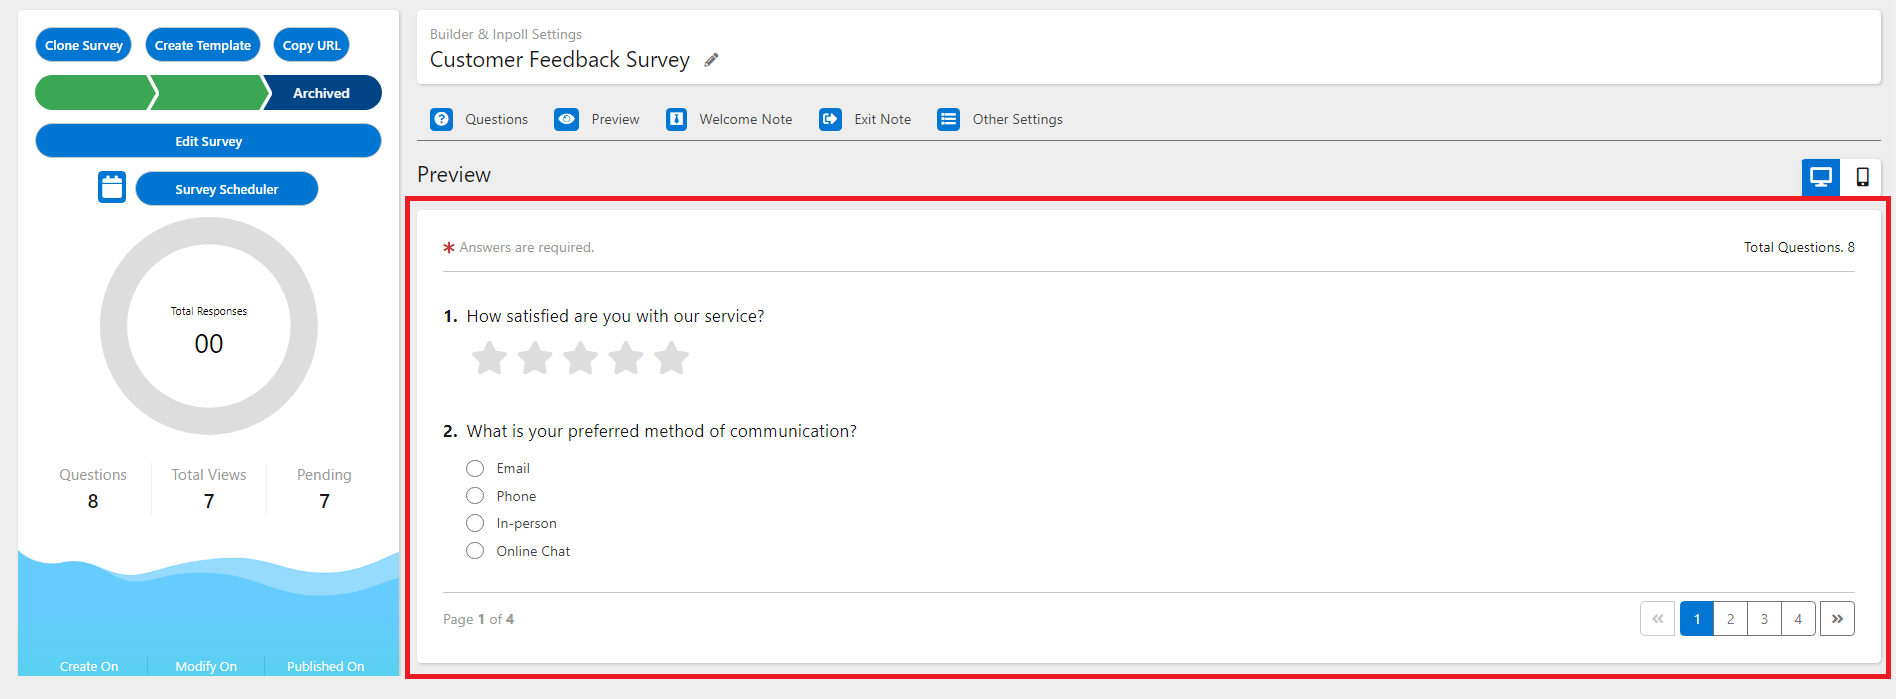
You can paginate by the number of questions or by section.
- In Survey Settings, select Add Pagination.
- Select By Section or By Question.
- For By Question, enter the number of questions to show on each page.
- Click Save Changes.
In this example, the survey is set to 2 questions per page.
Filter the survey list
- In the InPoll app, click the Surveys tab.
- Click the filter button at the upper right of the survey list.
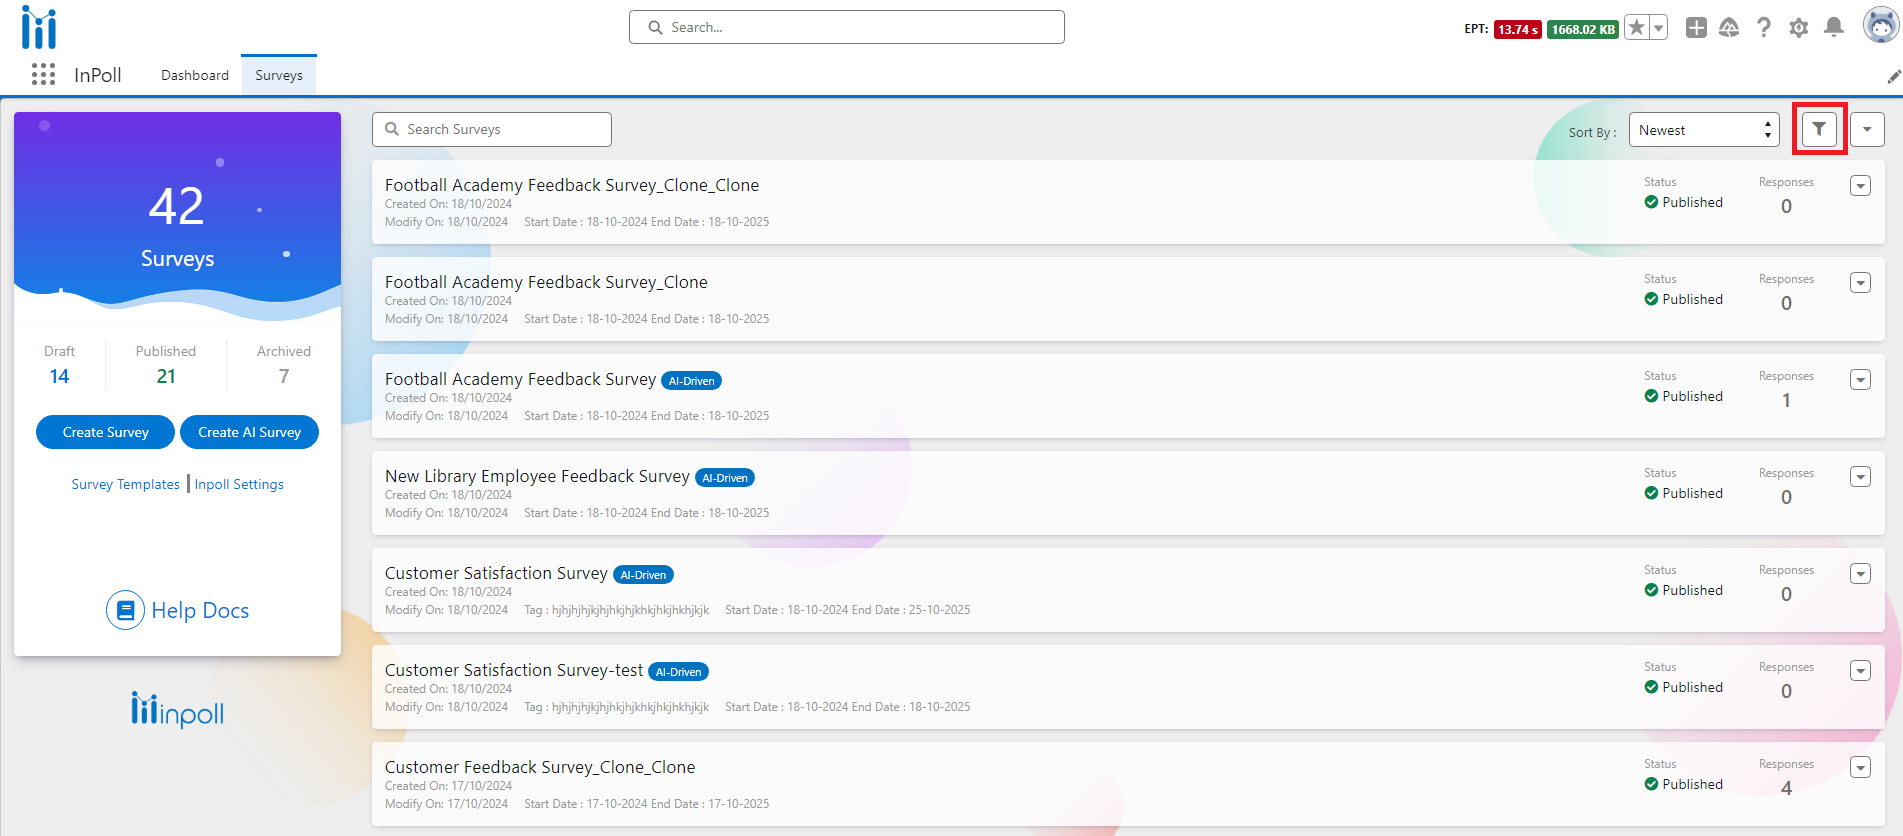
- In Filter Survey List, choose one or more filters.
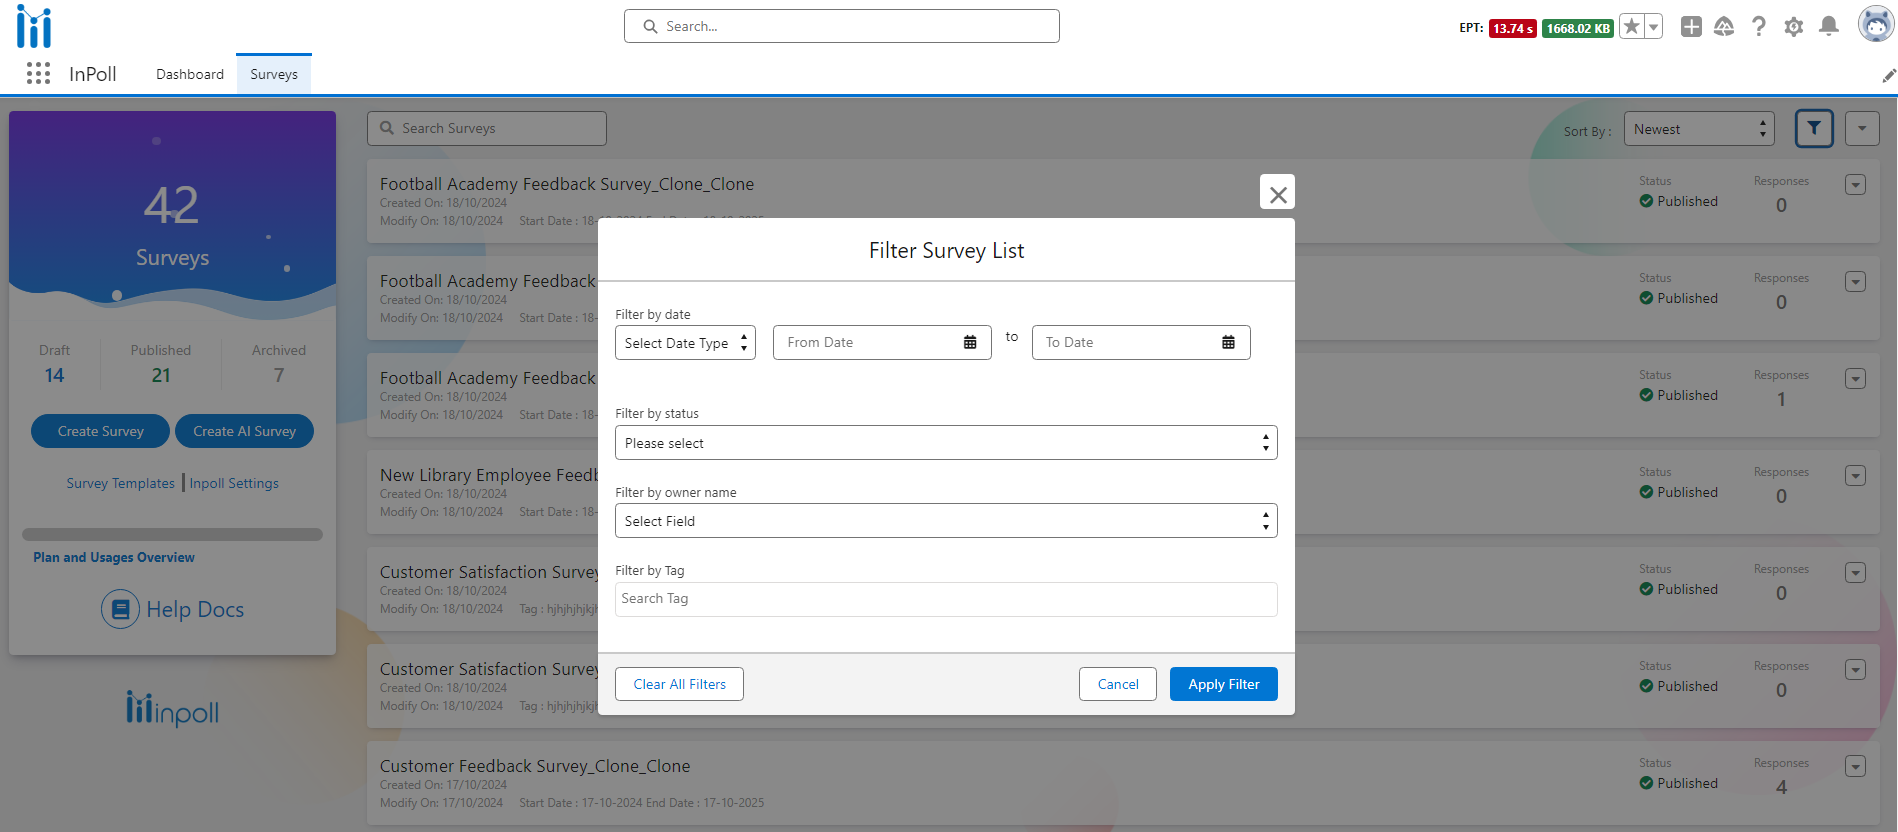
- Click Apply Filter.
You can filter by:
- Date: choose a date type (Create Date, Publish Date or Archived Date). Then enter a range in the From Date and To Date fields, or use the date pickers.
- Status: choose Draft, Published or Archived.
- Owner name: choose a survey owner from the list to see all surveys created by that owner.
- Tag: choose one or more tags to see all surveys with those tags.
To remove the filters, click Clear All Filters in the window, or click Clear All in the Filter By row above the list.
Manage tags
You can create, edit and delete tags on the Manage All Tags page.
- In the InPoll app, click the Surveys tab.
- In the left panel, click Manage Tags.
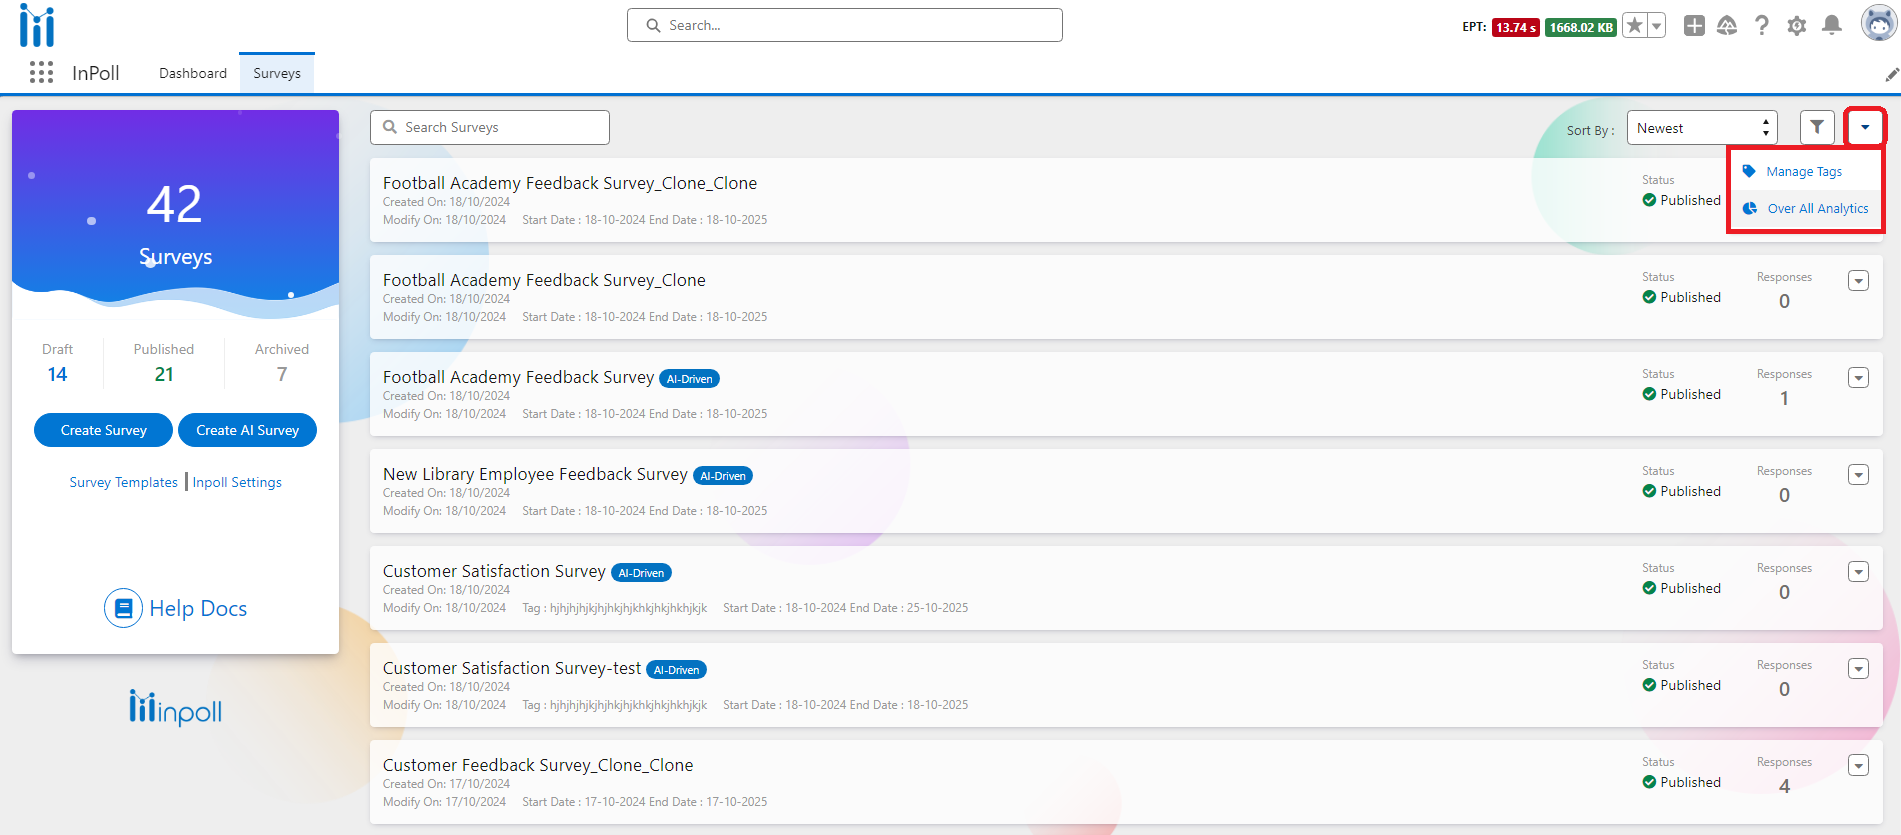
The Manage All Tags page opens.
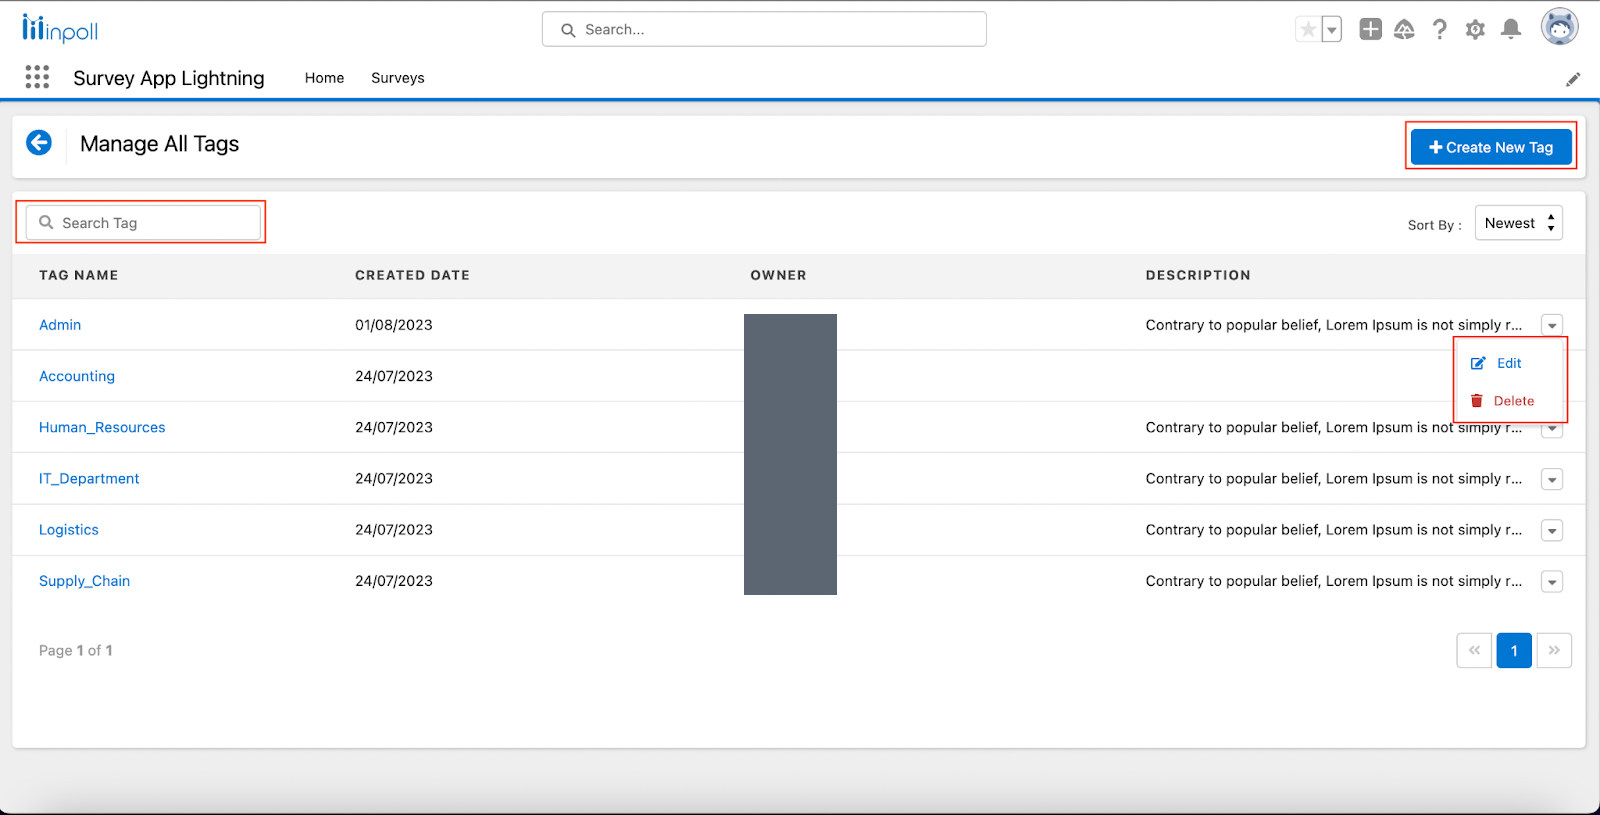
Create a tag
- Click Create New Tag.
- Enter a Tag Name and a Description.
- Click Save Tag.
Edit or delete a tag
- Click the arrow button next to the tag.
- Click Edit or Delete.