
Use this guide to create, add, edit and delete tags that group your surveys. For survey creators.
Tags group similar surveys so you can find and filter them. You can add several tags to one survey and the same tag to several surveys.
Open the Manage All Tags page
- Go to the Surveys tab.
- In the left panel, click Manage Tags.
The page lists every tag with its name, created date, owner and description. Use Search Tag to find a tag. Use Sort By to order the list by Recent or Oldest.
Create a tag
- Open the Manage All Tags page.
- Click Create New Tag.
- Enter a Tag Name. It is required, can have up to 70 characters and cannot contain spaces.
- Optional: enter a Description (up to 140 characters).
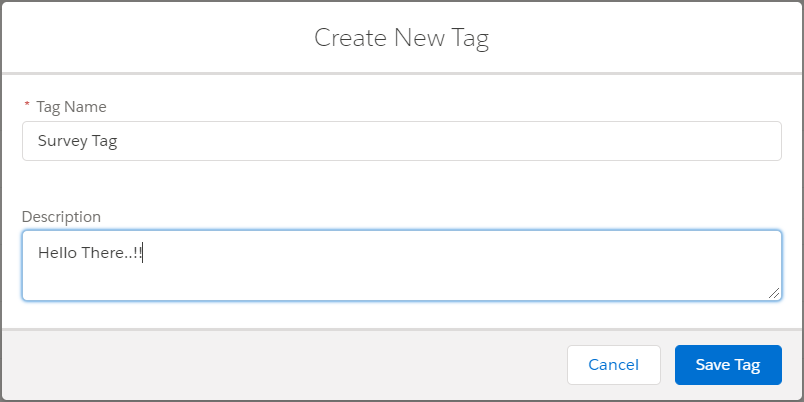
- Click Save Tag.
You cannot reuse a tag name that already exists.
Add a tag to a survey
- On the Surveys tab, click the survey to open it in the builder.
- Click the Survey Settings tab. Or click the edit icon next to the survey title.
- In Add Tag For Survey, search for a tag and click it.
- Click Save Changes.
You can also type a new tag name in Add Tag For Survey to create the tag. Tag names cannot contain spaces.
Edit a tag
- Open the Manage All Tags page.
- Click the tag name. Or click Show More on the tag row, then Edit.
- Change the Tag Name or the Description.
- Click Save Tag.
Delete a tag
- Open the Manage All Tags page.
- Click Show More on the tag row, then Delete.
- In the Confirm dialog, click OK.
InPoll shows Tag Deleted. A deleted tag is removed permanently and no longer appears on any survey.